
What Are Gmail Ads?
Formerly known as Gmail Sponsored Promotions, Gmail Ads appear at the top of Gmail, in the Promotions tab:

If you’re using an “all features” campaign on the Google Display Network, you have the option to show your ads in Gmail.
You will be charged on a CPC basis when people click to expand your ads. Any further clicks through to your website will not be subject to any additional charges. Once in a recipient’s inbox, they have the option of forwarding the ad to a friend, starring it to save it to their inbox, or deleting it.
Why Use Gmail Ads?
There are many reasons why you should consider using Gmail Ads.
- 56% of email users use Gmail as their provider so you get direct placement opportunities straight in their inbox.
- They generate cost effective conversions.
- They are low cost.
- Domain targeting allows you to target companies users receive emails from.
- They can be used in conjunction with customer match lists to help you target disengaged members of your existing email marketing list.
How To Create Custom Gmail Ads Using Mailchimp
When creating your ads, wear your email marketing hat and try to successfully blend your paid media with email marketing.
You can create Gmail Ads using one of Google’s templates, but some may argue that these are overly simplistic. Uploading custom HTML code offers you a more flexible option.
Don’t panic at the sight of the words “custom HTML code”.
I am by no means gifted in the complexities of writing HTML. I know the basics, but beyond that, I can get a little bit stuck. This is where MailChimp comes to the rescue.
If you haven’t used it before, MailChimp is a free email marketing software provider, that offers lots of templates for you to design and send email campaigns.
Let’s take a look at how you can create Gmail Ads using MailChimp to generate the custom HTML code.
To use Gmail Ads and create templates in MailChimp, you will need:
Now, let’s get started.
- Sign in to MailChimp.
- Select Create campaign > regular campaign.
- Choose your test list as the email recipient and populate the campaign info in the set up tab. Remember, this won’t be sent to anyone, so it doesn’t matter what your from name and subject line are. These details will be populated in AdWords.
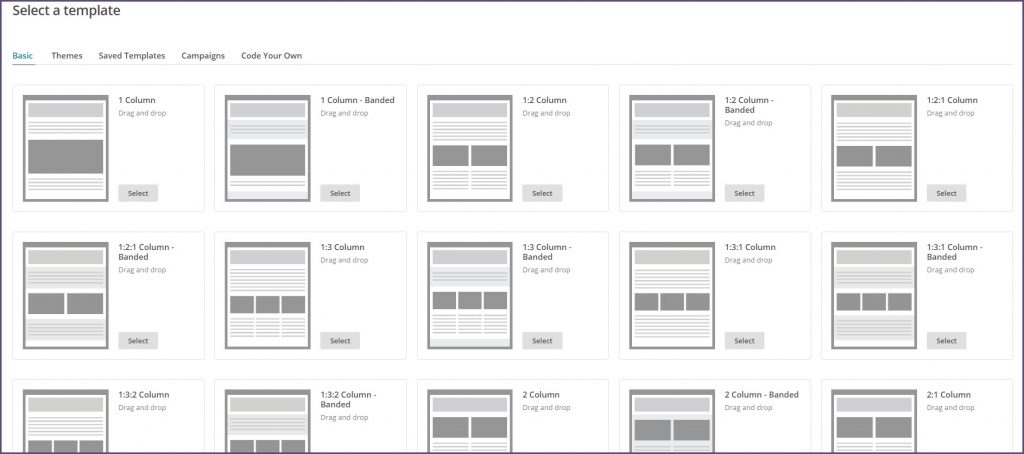
- In the templates tab, choose one of MailChimp’s many drag and drop templates:
- Populate the content of your email, save it as a template and exit.
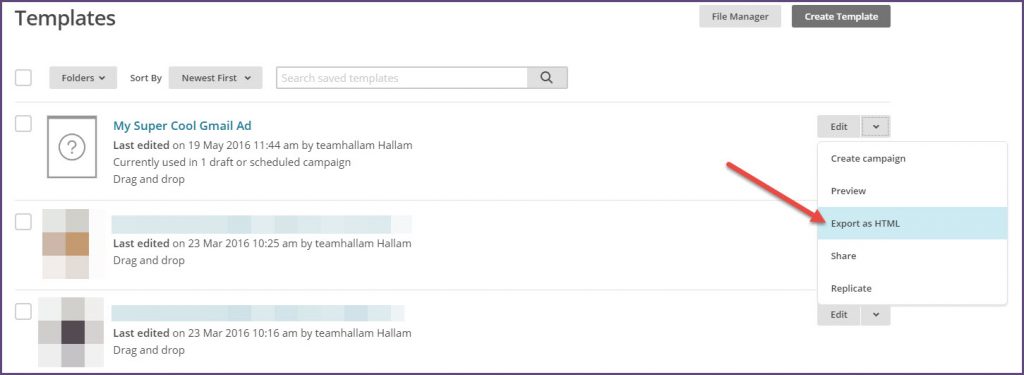
Now that you have used MailChimp’s simple user interface to create your ad, all you need to do is export your template.
Simply navigate to templates, select the drop-down menu next to the template you just created and select export as HTML:
Remove the standard MailChimp footer from the bottom of your code and make sure you save this as a .html file.
You then need to create your teaser text, the bit that will show in the ad preview. This can be created in a text document and should feature the following content:
- Advertiser: [insert your company name – 15 characters]
- Subject: [insert your subject line – 25 characters – tips for writing them here]
- Description: [insert a short description about the content of your email – 100 characters]
- Display URL: [insert the URL you want to display in the ad. This is for vanity purposes, or if your landing page URL is long – 32 characters]
- Landing Page: [URL of the landing page you want to send people to – no limit]
Design Considerations
The design stage is the point where you need to start thinking like an email marketer. Here are the key considerations to take in to account when creating your ads:
Header
Include a clearly defined header that is branded with your logo. This will help ad viewers identify who you are.
Content
Write engaging content that will drive traffic to your website. This should be short, sharp and engaging – with the effect of driving people to your website to find out more about what you are offering.
Images
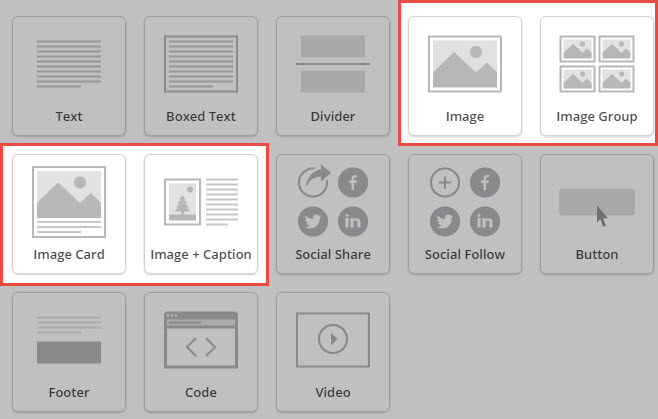
Add value to your message by including images and links about your product. MailChimp has some great options in its drag and drop editor for adding images to your campaign:
You may also consider embedding a video.
CTAs
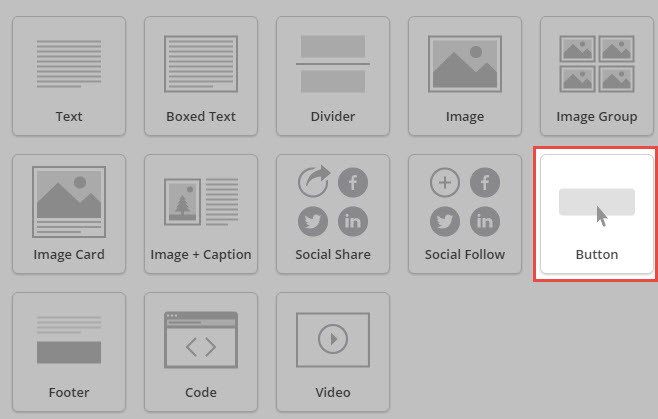
Add a clear call to action button that drives clicks through to your website. Ensure that these are sending those that click on them to the most relevant page on your website. Again, MailChimp has a great customisable option for simply adding a CTA button in to your email design:
Size
Ensure that your email message is no wider than 600px and no longer than 1000px. The file size of your campaign should be no larger than 1.25Mb so keep this in mind when designing and inserting images.
Organise Your Assets
- Create a folder to store your assets
- Save your email HTML code as index.html
- Save all your imagery in am “images” sub folder
- Save your logo in your main folder as logo.png
- Save your teaser text as teaser.txt
- Compress the whole folder and we are ready to go!
Upload Your HTML To AdWords
Now that you have created your email in MailChimp, exported the HTML and organised your assets, it is time to upload it all to AdWords.
- Log in to AdWords.
- Create a new “Display Network Only” campaign.
- Select Gmail only placement by adding mail.google.com as a managed placement.
- At the ad creation stage, select “custom html” and upload your file.
- Preview your ad before saving – does it look like it did when you created it in MailChimp?
- Select your targeting options.
- Away you go.
So there it is, much simpler than you would have thought. Why not have a go at creating Gmail Ads using MailChimp yourself?
Further Reading
Creating Gmail Ads Using Templates (Google Support)
Gmail Ads – What’s New And What’s Not New? (Marketing Land)
Native Gmail Ads Arrive in AdWords (Google Inside AdWords)
Cracking the Code on Gmail Ads (Wordstream)
New AdWords Customer Match Beats Facebook Customer Match Rate (Wordstream)
Your Guide to Setting Up Gmail Ads (PPC Hero)
Gmail Sponsored Promotions – Everything You Need to Know to Succeed (Marketing Land)